The question we hear most at the counter: can you limewash regular drywall? Yes, and most Toronto limewash jobs are exactly that. But drywall is also where most DIY limewash failures happen, and they all fail at the same step. Here is the whole process, honestly.
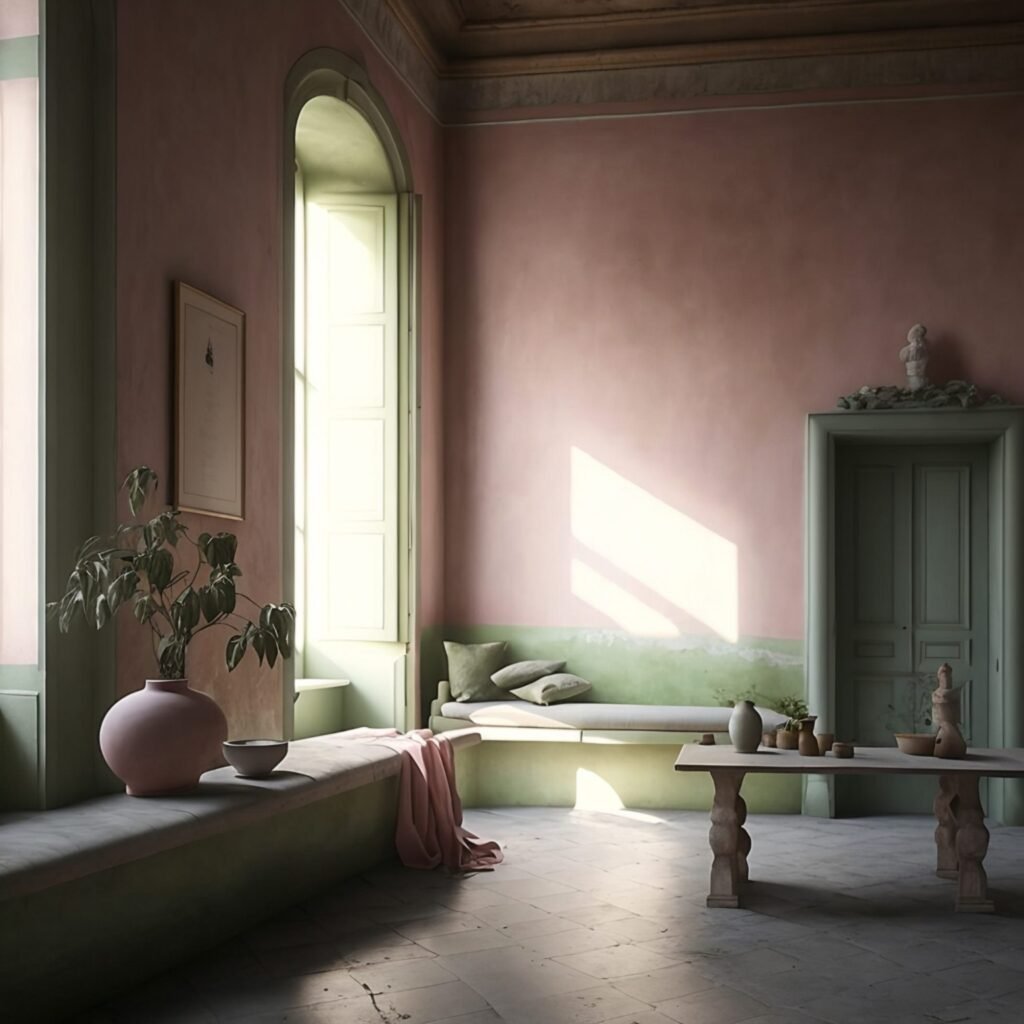
The non-negotiable step: the right primer
Limewash is mineral. Drywall paper and standard latex paint are not. Brush limewash straight onto them and it either sits on top like chalk or drinks in unevenly and dries patchy. The fix is a mineral-grip primer made for the job: Genyus, a dead-matte base coat that gives the lime something to bond with and evens out how the wall drinks. One coat, roll it like normal paint, let it dry fully. Every failed limewash story we hear skipped this or used a generic primer.
The brush matters more than you think
Limewash is not rolled, it is brushed, and the brush is half the finish. A wide block brush holds enough wash to pull long, loose strokes. Work in a criss-cross pattern, keep a wet edge, and stop overworking each area: the clouding happens as it dries, not while you brush. Our block brush is the one we use on installs.
Coats, timing and colour
Two coats is standard. The first looks alarming, streaky and thin, and that is normal. Let it dry fully (lime lightens dramatically as it dries), then cross-hatch the second coat in the opposite direction. The colour you see wet is roughly double the depth of the final dried wall, so trust the chart, not the bucket. We tint Calce & Clay in house on the Spiver system, so your second bucket always matches your first.
Where drywall limewash works, and where to stop
Bedrooms, living rooms, dining rooms, hallways, ceilings: all excellent. Bathrooms with a proper exhaust fan: fine on walls away from direct water. Inside a shower: no, that is microcement territory (we wrote a separate guide on that). High-traffic hallways with kids and dogs: consider a sealed finish or accept the occasional touch-up, which with limewash is genuinely easy, brush a little more wash over the mark and it disappears into the movement.
What it costs
For a typical 120 square foot bedroom wall set: a bucket of primer plus limewash usually lands between $100 and $250 in complete materials at 2026 store prices, depending on size and tint depth. The exact list for your square footage takes two minutes in the project calculator, which builds primer, wash and quantities together so you buy once.
The honest skill assessment
Limewash is the most forgiving finish we sell. If you can paint a wall patiently, you can limewash one. Watch the application video on the product page, prime properly, do a test board, and go. And if you get halfway in and want a professional to finish it, our sister company Elite Walls installs across Toronto.